What Are the Best Accessories for the Blue Yeti Microphone?
As you’d expect, with one of the most popular microphones on the market, the demand for Blue Yeti accessories is huge. It’s a versatile little beast right out of the box, with multiple polar patterns, a built-in stand, and various other features. But add a few choice accessories, and it can be even better.
You can read our full Blue Yeti review for the deep dive, but let’s cover the highlights here.
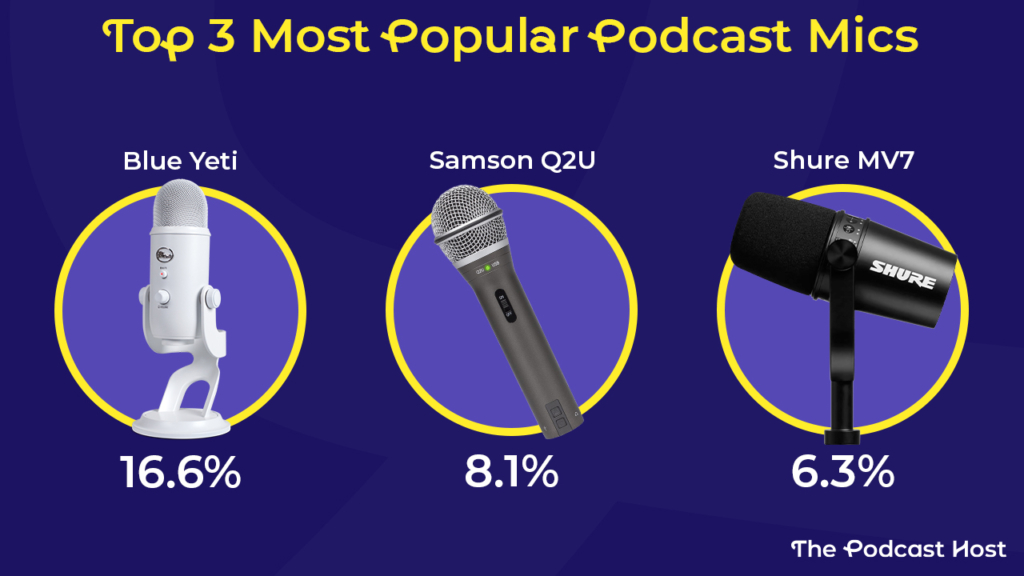
On the plus side, it can be a decent-sounding mic if used correctly. It also comes with everything you need to get going, quickly – the Yeti is already mounted on its own stand, so you can use it right out of the box. These factors have helped the Yeti maintain its position as the most popular podcasting mic throughout most of the medium’s history.
But, on the negative, the Blue Yeti’s short stand makes for a less-than-ideal recording position, and its sensitive capsules pick up pops like no-one’s business.
Luckily, we’ll cover a range of Yeti add-ons here that can help solve both! So, let’s get into it – here are some of the best Blue Yeti accessories if you’re looking to upgrade your mic.
And if you’re not yet committed and are still shopping around, you can see the full range of Yeti competitors in our Best Podcast Microphones Guide.
Heads up: We use affiliate links in this post and may earn a small commission should you choose to buy through them – though never at any extra cost to yourself 🙂
Question: What Are the Best Accessories for the Blue Yeti Microphone?
This post was prompted by an email I got from Brian Flaherty about upgrading his Yeti.
Hi Colin – thanks for all the advice. I do have some questions about gear. I did a few episodes of a podcast with 2 other friends (so 3 of us in all) and we all shared the Blue Yeti which as long as we were close enough to the mic sounded great. So now I want to take it to a new level with an interview podcast and I plan on using the same Blue Yeti and buying a second one for my guest.
My question is: can you recommend a stand or holder that works with the Yeti to allow me and the guest to sit normal and get right up on the mic? Same with the filters/windscreens. DO I need those for a quiet office situation?
Thanks, Brian. These are good questions, and they highlight some of the most common downsides of the Blue Yeti when used in the wild. So, let’s look at a few things we can do to improve the performance of our Yeti.
As an aside, can you connect and record 2 USB mics into one computer? Our article explains why we don’t recommend it, and gives you a whole load of better options instead!
The Trouble With the Yeti’s Stand
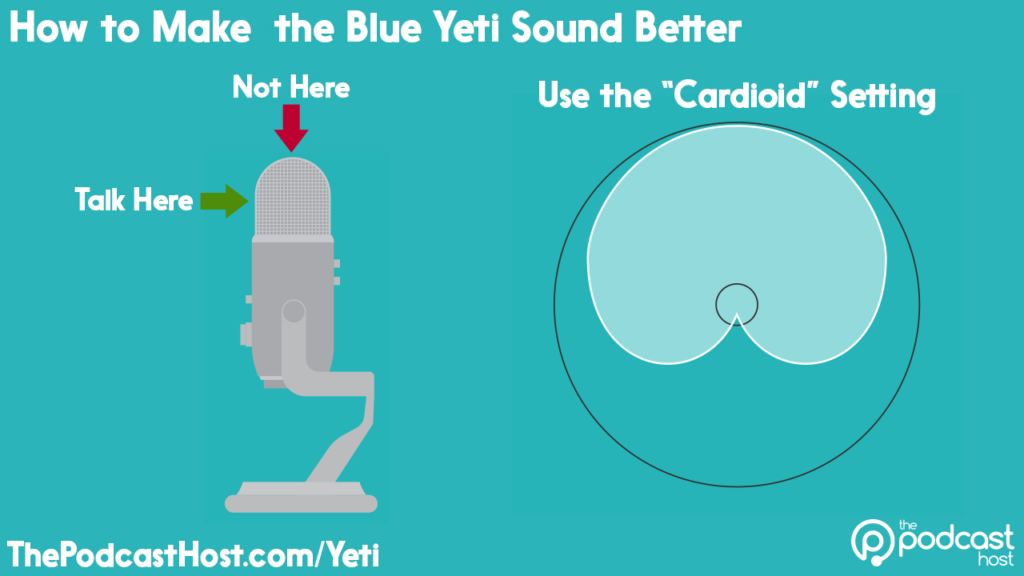
First, on the microphone mounting question, this is a great step to take. The Yeti’s stand is fine as a stop-gap, but it’s too low to get your mouth in the right position when placed on an ordinary table or desk. Speaking and recording are a whole lot easier if you can mount your microphone a little higher up, more at natural mouth level.
When you bend, it has a pretty dramatic effect on your sound, after all. Your voice becomes strained as it forces its way through a bent windpipe, emanating from squashed lungs and a crushed diaphragm. Sounds dramatic, right? But those parts of your body are soft and fragile, and they’re strongly affected by the position you sit in. You’ll almost always sound better if your spine is straight and your chin is high.
For a deeper dive on this, check out Where Should I Put My Blue Yeti: Tips for Positioning.
Blue Yeti Microphone Stands: The Flexible Mounting Option
First thing’s first, then – we want to swap out that default built-in stand for something that drastically improves your recording posture, and gives you much more flexibility.
Many podcasters mount their mics on boom arms. These are popular because of how adjustable they are, and also because they don’t need to sit on the surface of your desk or the floor itself. They don’t really take up any surface room at all – save for a few inches on the very edge of the table where they clamp on.
If you do go the boom arm route, you’ll need a good quality one to take the weight, and Blue have the on-brand Blue Compass Boom Arm available. My favourite boom arm is the Rode PSA1, which is around the same price.
To be honest, though, you don’t need to spend that much on what is only one part of your Blue Yeti accessories kit. This boom arm from Luling Arts is almost half the price of the other two, and it comes with a whole load of extras – including something else we’re going to need!
Just to tie up our boom arms section, though, these mic stands are amazing for keeping your Yeti handy, but just out of the way. Pull the boom arm around to your mouth when you want to record, and push it back when you’re finished. Easy!
Blue Yeti Shock Mount Options
Next up, a shock mount is a tool that attaches your microphone to the microphone stand and protects it from vibrations and noise passing through the stand or the table.
Without a shock mount, you’ll often hear banging, rubbing or rustling, which is conducted right through the stand and into the mic. But, a shock mount holds the microphone in a soft mount – often rubber bands – so the noise can’t reach the mic itself.
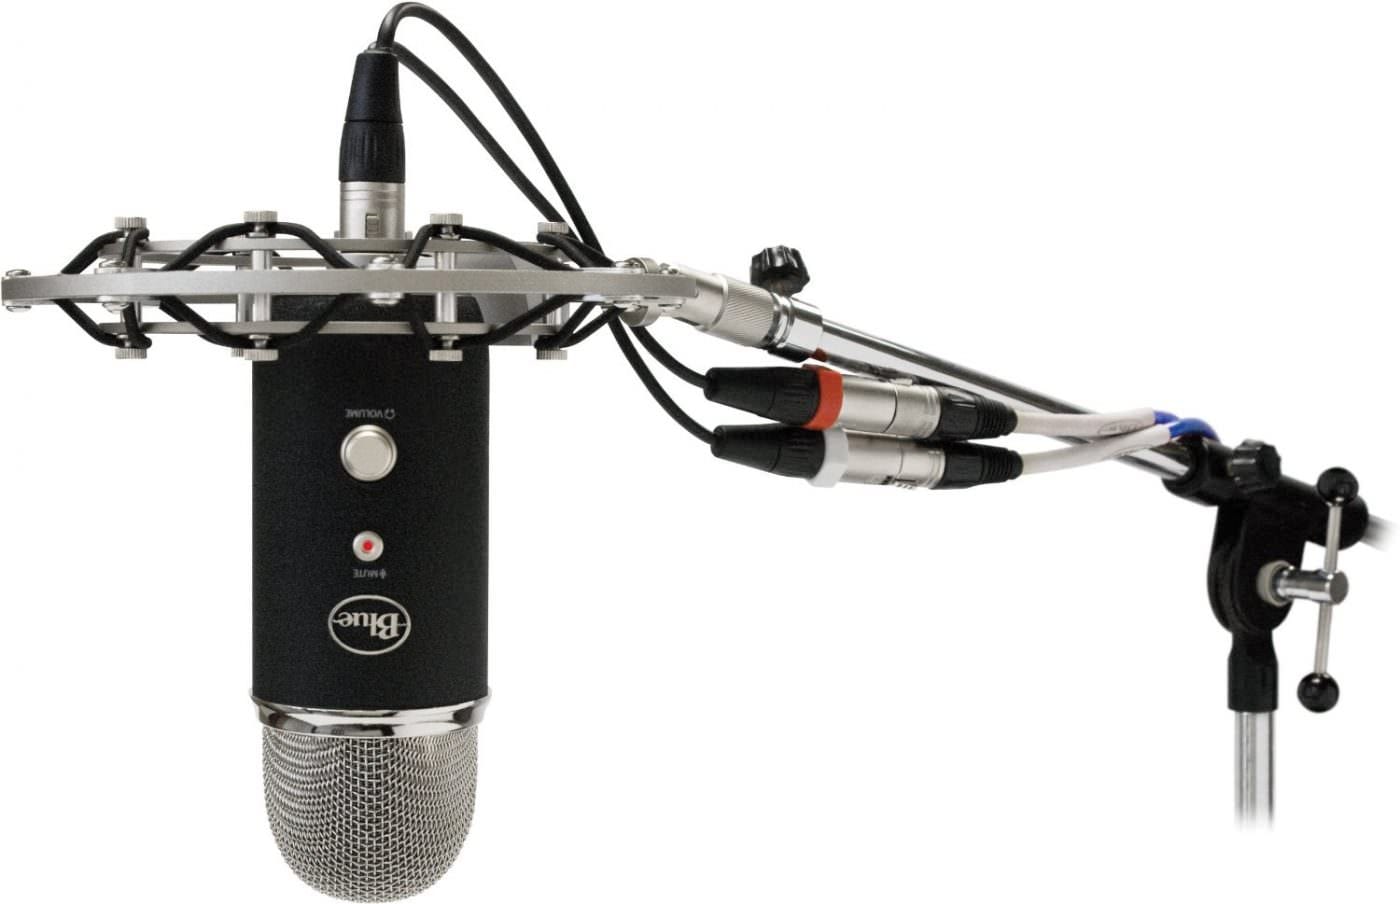
There is an official Blue Yeti shock mount, the Blue Radius III. It’s not the cheapest in the world, but guaranteed to work great with your mic. The Blue Yeti Pro is pictured here, on the right, mounted in one of the same.
There’s a decent alternative Yeti shock mount by Auphonix, which is less than half the price of the Radius III. With budget gear, there’s always a risk that it won’t work correctly or last very long, but reviews of the Auphonix Yeti-compatible shock mount are overwhelmingly positive.
The Luling Arts boom arm does come with a shock mount, but, unfortunately, this isn’t compatible with the Blue Yeti.
Using a Pop Filter With Your Blue Yeti
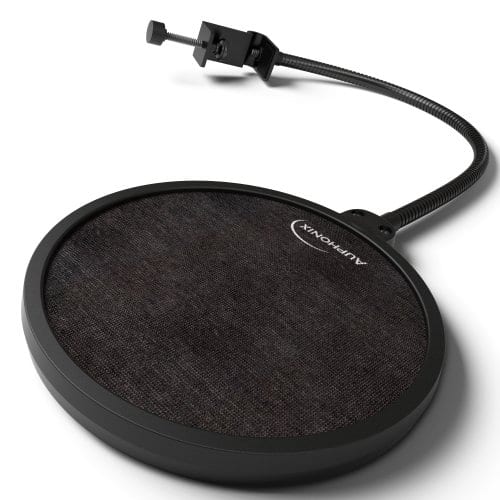
Lastly, for the windscreen/pop filter question, a pop filter is great for reducing speaking noises called plosives. A plosive is the popping sound that happens when you say a ‘P’ or a ‘B’ or similar – when you blow air from your mouth and it hits the microphone with force.
Good mic technique means getting right up close to the mic so your voice is much higher than the background noise. But, as a result, that will increase plosives since the air you’re expelling from your mouth has far less distance to travel to the mic.
Pop filters are ten a penny, and most come with pretty universal screw mounts that clamp onto your mic stand or shock mount. Be warned that some of the ultra-cheap ones work poorly and are easily broken.
The “official” Blue Pop Windscreen was Blue’s traditional (and slightly over-priced) offering on this front, but if you’re buying the Luling Arts boom arm, then this comes with a pop filter included!
These are pretty un-technical bits of kit, though, so don’t overthink it. You can even make a pop filter from a hanger and a pair of tights!
Conclusion: What Blue Yeti Accessories Are Worthwhile?

That sums up the most useful Blue Yeti accessories we’ve used. I’m sure there are more around, so be sure to reach out in our IndiePod Community if you’re using something different.
You can usually get Blue’s boom arm and shock mount in the Yeticaster package, but it’s hard to see past the Luling Arts bundle as a more cost-effective alternative. With the Luling Arts kit, you’ll still need to get yourself a shock mount like the Auphonix model, but all-in, that’s still going to save you money on the Yeticaster bundle.
No matter which models you buy, though, your neck and back will thank you for saving them from the constant leaning over, and your audio quality will jump as a result!
Best Software for Blue Yeti?
We’ve covered the best hardware accessories for the Blue Yeti – but what about software? After all, you’re going to need something to record and edit your audio with.
BLUE VO!CE
Logitech offers a free software programme for the Yeti called BLUE VO!CE. This is simply an audio processing software, though, and not something you can use to record the audio itself. VO!CE lets you run effects like Compression, EQ, and Noise Reduction, or, it has a bunch of “novelty” voice effects, too. The stuff that podcasters will find useful (the audio enhancements mentioned above) can be found elsewhere, so VO!CE is unnecessary for most Yeti users.
Audacity
A free option that can be used to record and edit your audio is Audacity. It’s the most popular podcasting software in 2024. The main downside is that its interface looks a little clunky and complicated. If you’re new to audio, this can all take a bit of time to figure out.
Alitu
The second option is ‘Podcast Maker’ tool Alitu, which makes recording, editing, and publishing your podcast as simple as humanly possible.
All of the compression, EQ, and other processing is taken care of for you, automatically, so you don’t need to have the slightest clue about how any of it works. The Noise Reduction is also sorcery-levels of good, too, as you’ll hear from the clip, below:
Alitu lets you record remote calls with guests or co-hosts, and publish and distribute your show from within its interface. It even has automatic filler word removal and text-based editing capabilities. These are all features you won’t get with Audacity. Alitu is a paid monthly subscription, but you can try it out free to see (and hear!) what you think!